Multi-factor Authentication (MFA)
How to Enable MFA
MFA activation is managed through the company's Administrator Profile by following these steps:
- Go to: Settings > General > Authentication.
- Enable the Enable MFA (Multi-factor Authentication) access option.
Once activated, MFA configuration becomes mandatory for all company users.
MFA Configuration
First Login After Activation
- Log in normally using your credentials.
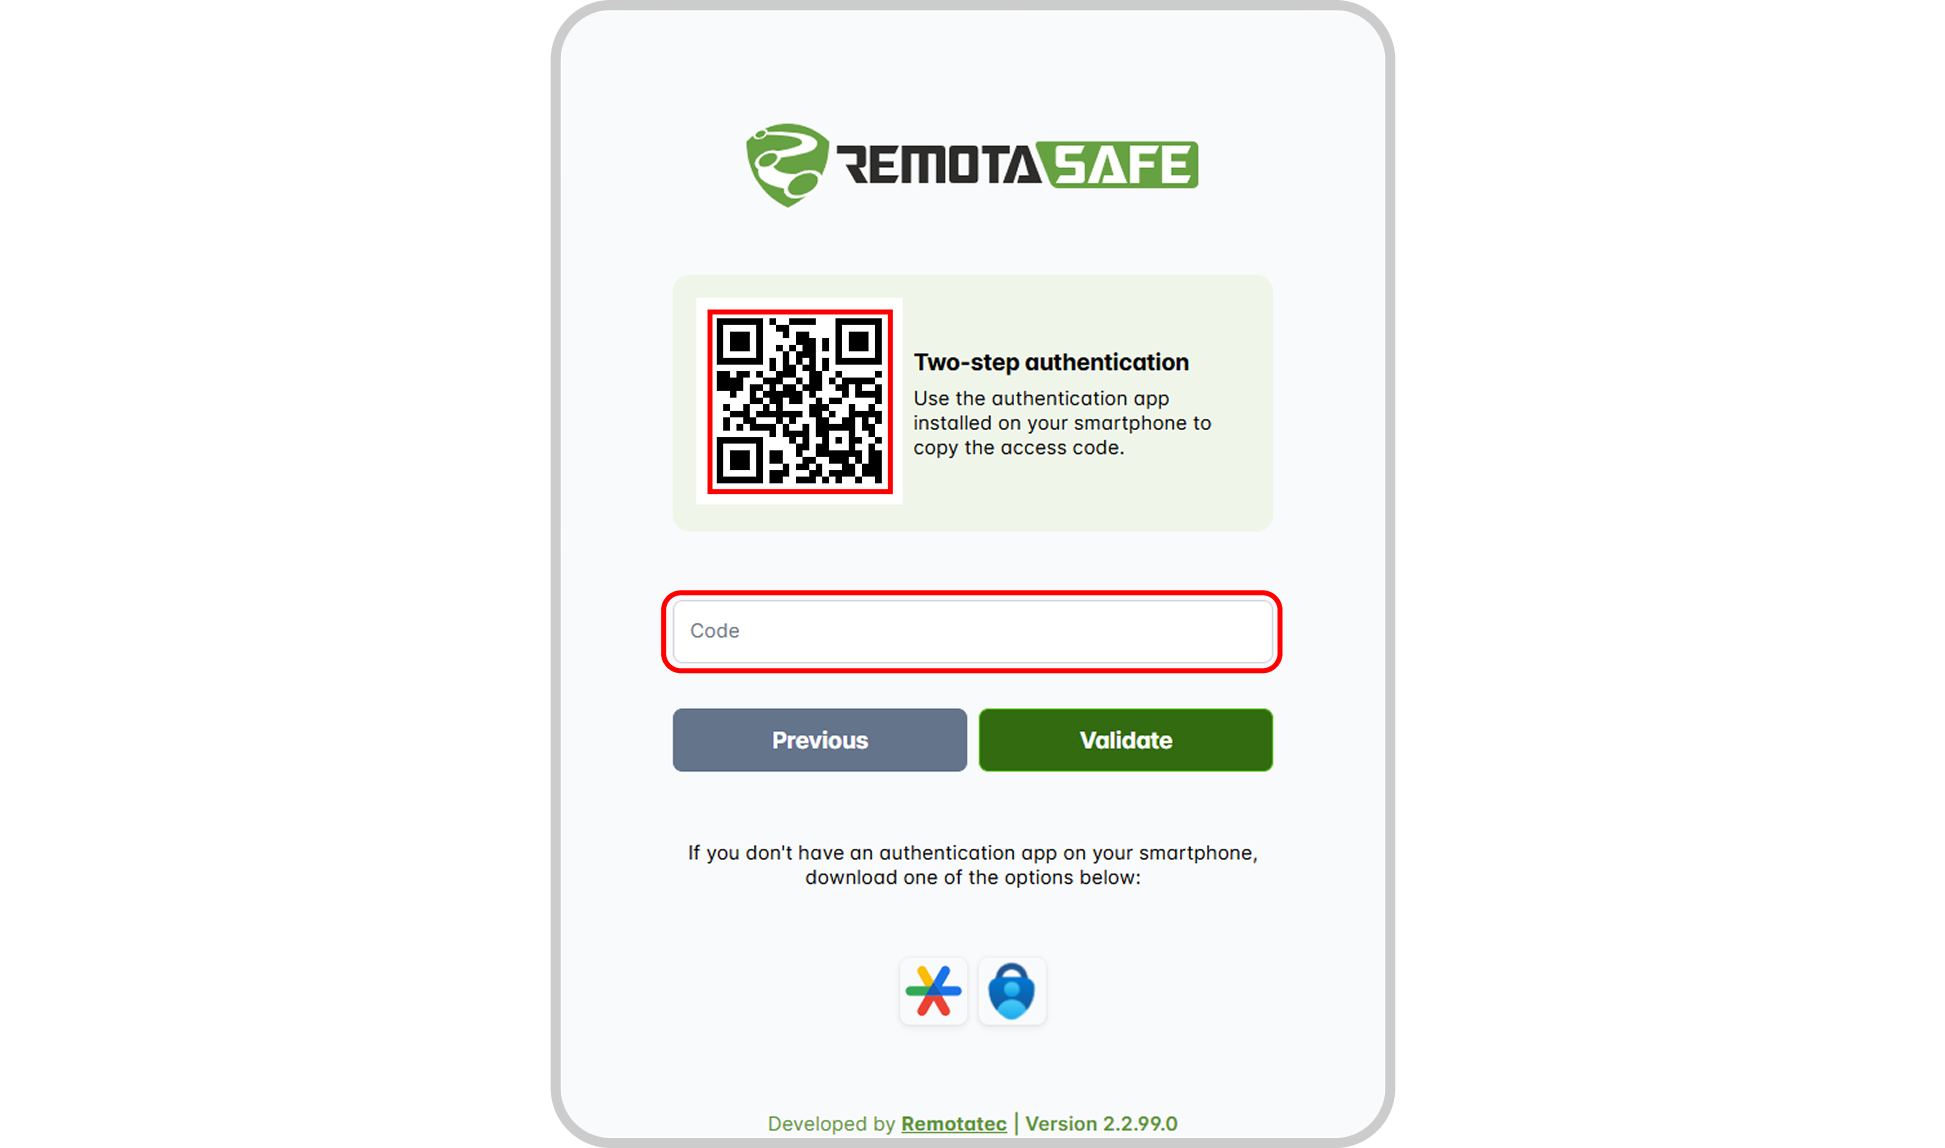
- After password validation, a QR Code will be displayed.
- Use an authenticator app to scan the code.
- Enter the 6-digit code generated by the app.
- Your configuration is complete.
After configuring MFA access, we recommend resetting your account's recovery codes and storing them in a safe place. See the "1. Reset Recovery Codes" section for more details.
Other authenticator apps may work but could experience inconsistencies.
Using MFA Daily
Once configured, to access your account you must:
- Enter your username and password as usual.
- Open your authenticator app.
- Enter the 6-digit code displayed (noting its time validity).
- Click validate for verification and access authorization.
MFA Management
In the profile's user preferences, you can find the "Access" area related to authentication preferences. Options are displayed based on what is currently enabled for your account.

1. Reset Recovery Codes
- Generates new emergency codes to access your account if you lose access to your authenticator.
- Displayed only once—store them securely.
- Each code can be used only once.
- Use these if you lose your device or the app is deleted.
Old codes are invalidated as soon as new ones are generated.
2. Configure Authenticator App
- Allows you to add new devices or apps for authentication.
3. Reset Authenticator App
- Removes all current MFA settings.
- Forces a complete new configuration.
- Invalidates previously configured authenticators.
Access Recovery
If you lose access to your Multi-factor Authentication:
- Use one of the recovery codes shown when you reset them.
- Each code works only once.